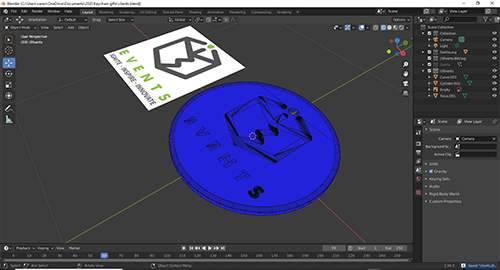
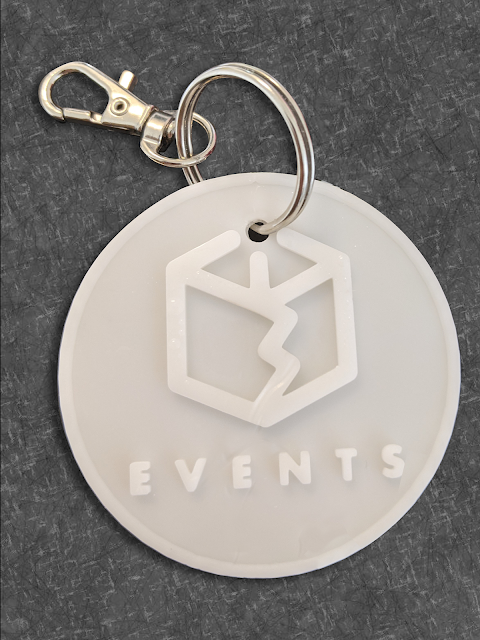
My latest hobby is 3D printing! I love it. I have a Elegoo printer. I think it stands for elegant goo, but I could be just making that up. LOL. The goo, in this case is resin, which I’ve been collecting in a number of popular colors to do my printing in. One can download ready-made files to print, for instance if you wanted a stand for your mini mixer, or a case for your Raspberry Pi. But if you want to do custom, branded work, it’s best to make it yourself. Here are 10 easy steps to create your own branded keychain. Of course, if you don’t have a 3D printer, or know the software, you can hire someone to do it for you, like me.
- Take your client’s logo, convert the logo into a vector graphic & save as SVG file
- Open up Blender, a free 3D graphic software and import your SVG logo
- Adjust to keychain size
- Extrude the logo to desired depth
- Add a backing
- Add key ring hole
- Download design as STL file
- Open Chitubox, a free slicer software, and import the STL file
- Prep the image according to your CD printer’s requirements and save as CTB file
- Print with your 3D printer


Recent Comments